
Gemini Plans, Claude Executes: The “Two-Brain” Workflow
If you open X today, you will see hundreds of posts about vibe coding and how everyone is creating crazy tools, dashboards, and even full-production apps making money.
All that information can be overwhelming.
But don’t sweat. It’s actually quite simple.
Here’s what I have personally found to be one of the most user-friendly and easiest way to actually start coding.
> For someone who has no experience and zero knowledge about programming
> Combining the full power of Gemini 3 Pro + Claude Code
> Works for bots, dashboards, tools, or any full-production app.
Step-by-step Guide: Antigravity + Claude Code
1. Install Antigravity by Google.
Download:
https://antigravity.google/download
This is a lot of the magic.

Antigravity is what’s called an IDE – Integrated Development Environment.
Basically a software application that helps programmers develop software code efficiently.
Well, in this case, even better: an agentic IDE
Antigravity is a simple-to-use interface that will let you speak with your AI brain in the same way you use chatgpt, with natural language, not only to write code but also to execute it directly.
For context, Antigravity is Google’s competitor to Cursor and VS Code; and among all, I’ve found it’s the most user-friendly for someone with barely no experience.
Once you install it, follow the process and set it up with your preferences + recommended settings.
2. Installing the magic power: Claude Code
If Antigravity is the magic interface that lets you speak with an AI that writes code and execute, Claude Code is the secret sauce to even create better code.
Claude Code is an agentic coding assistant that lives directly in your terminal.
Unlike your web-based LLM, it can independently execute engineering tasks by interacting with your local files and environment.
- It will create a local host, set up a data base, connect to any authentication method, find APIs, and literally anything.
Antigravity includes Gemini 3 by default, which basically does the same. But Claude Code is currently much more powerful, and combined with Gemini for planning and Antigravity as the UI, it’s a killer combo.
Windows PowerShell:
irm https://claude.ai/install.ps1 | iexWindows CMD:
curl -fsSL https://claude.ai/install.cmd -o install.cmd && install.cmd && del install.cmdAfter installation you need to add to path the Claude executable
C:\Users\YOUR_MACHINE_USER\.local\bin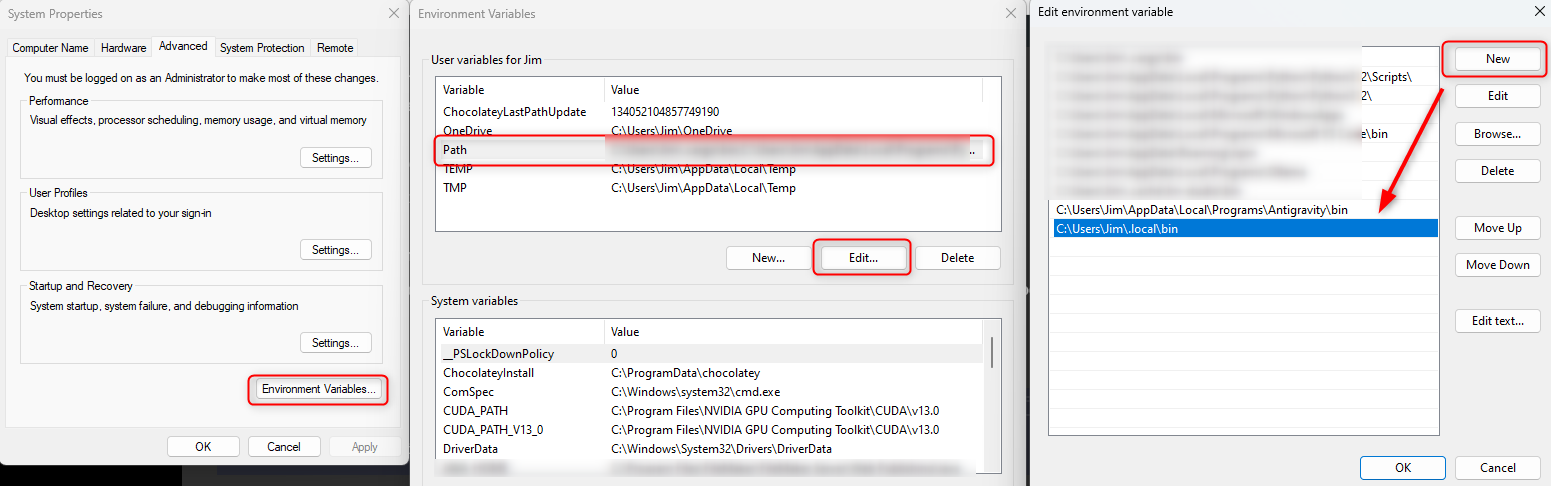
Back to the guide:
- Open Antigravity.
- Go to the left column and click on “Extensions”
- In the search bar, write “Claude” and install “Claude Code for VS Code”.
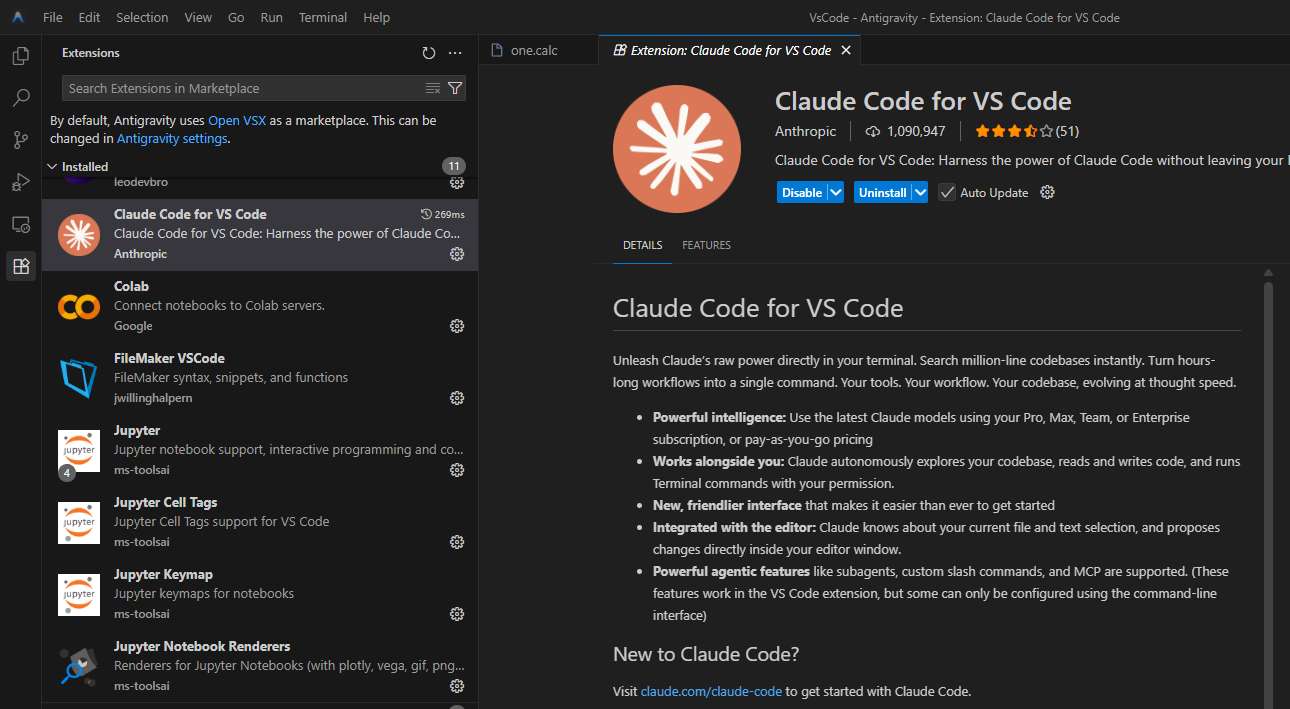
Because Antigravity is basically a fork of VS Code, this works perfectly fine.
3. Initialize a Project
- Click on “Open Folder” and select or create any folder for your project. That’s where all the files will be saved.
4. Time to Speak with Claude Code

- Click on the “low bar” toggle on the top right corner, so that the terminal opens.
- Write “Claude” on the Terminal, press Enter.
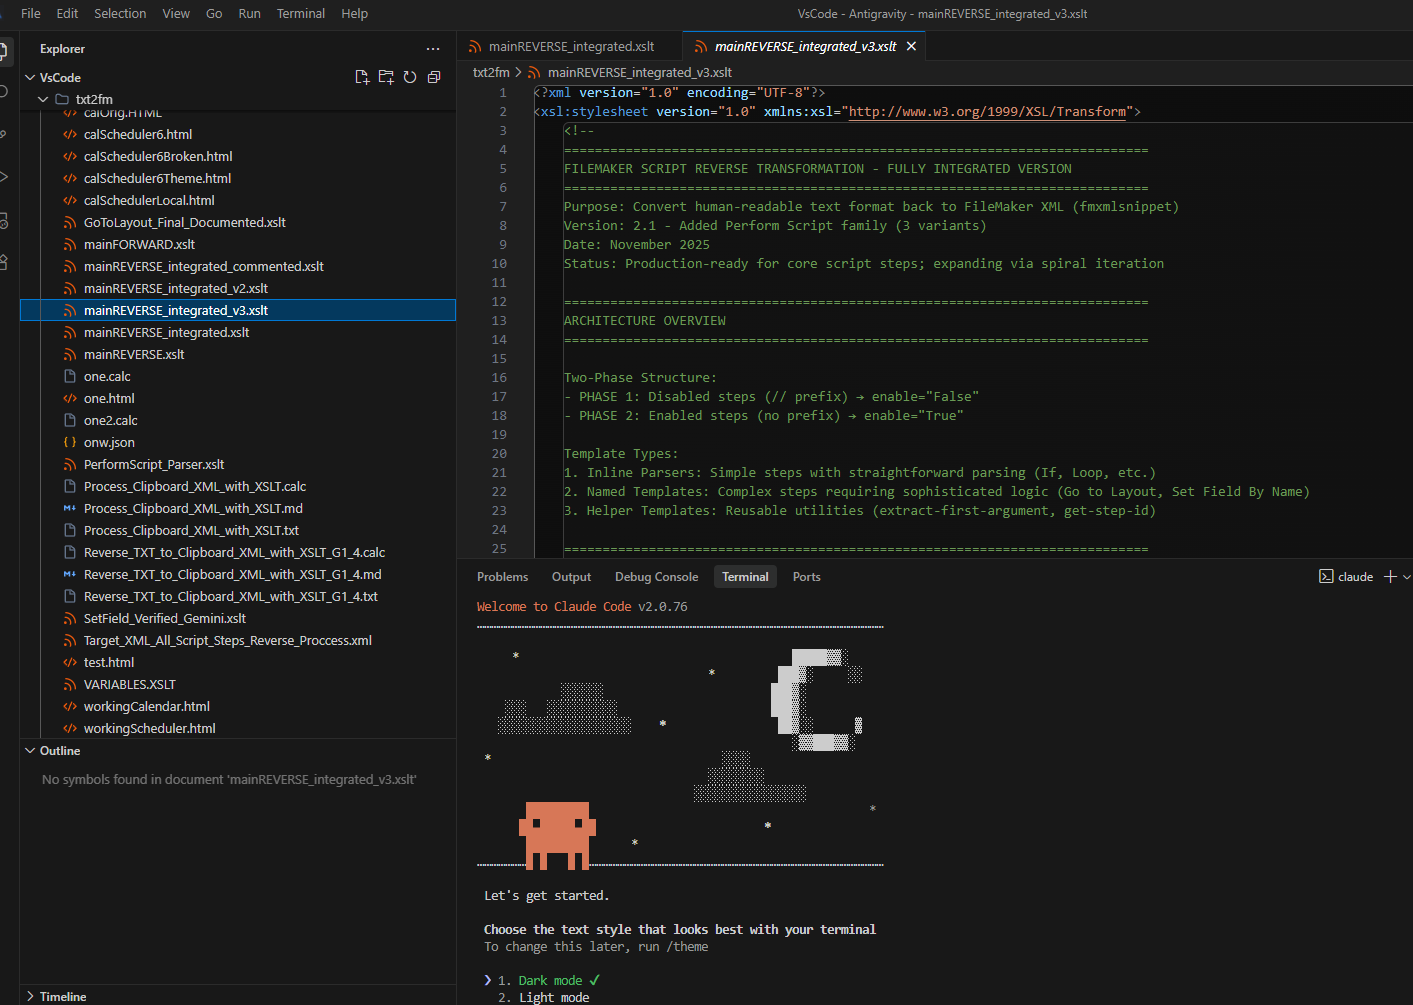
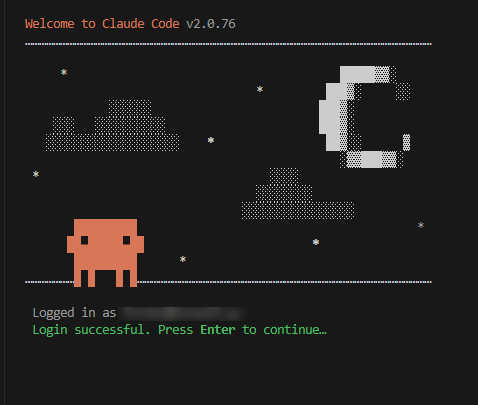
Congratulations! Now you are directly speaking with Claude Code.
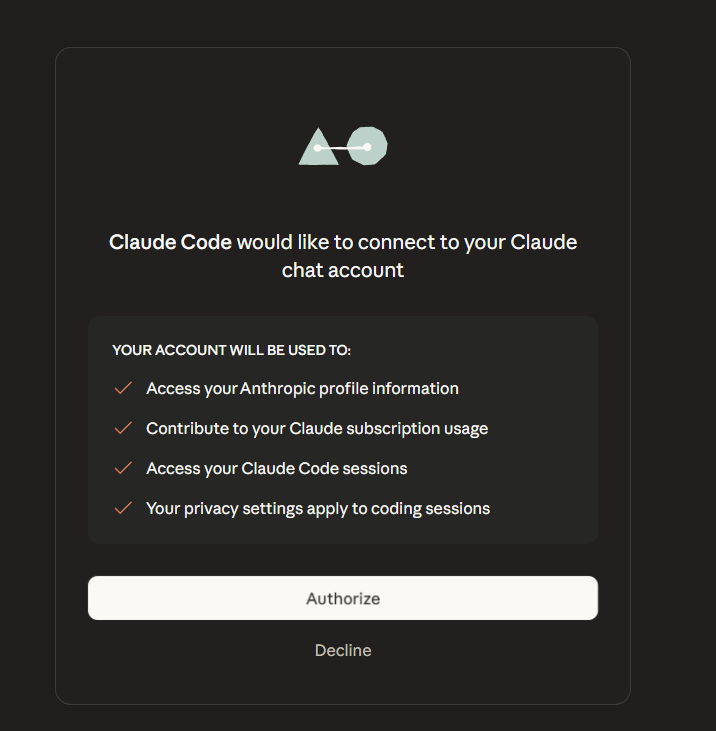
- Then simply click on “proceed” when you get the first question / prompt from Claude asking you to move forward.
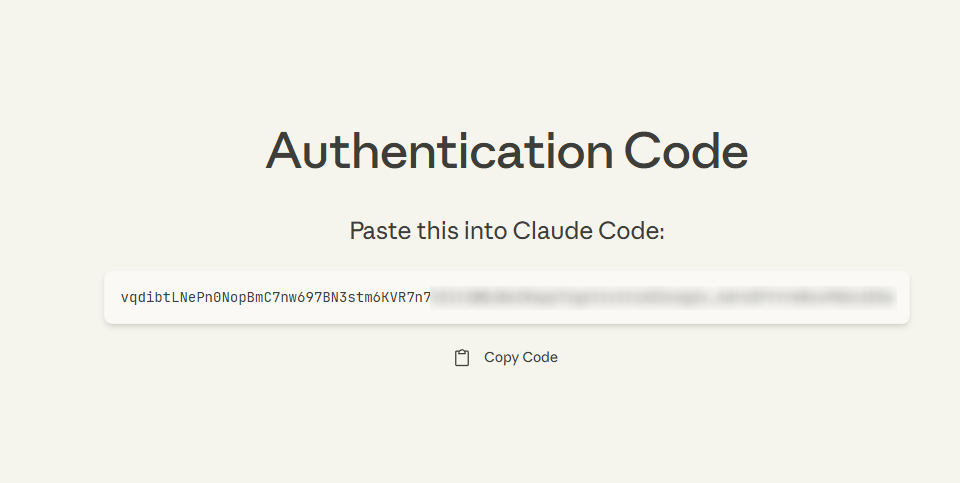
- It will ask you to log in with your Claude profile (you need at least Pro subscription to access Claude Code).
- Once done, it’s set up! You will get the Claude logo in the CLI terminal, and will be able to speak with Claude via natural language.
The Setup
On the right, you have the Gemini LLM.
This will be the Brain, or Planner.
- It’s basically the same thing you already use on the web to search for information, improve your writing, or whatever.
- It will be used to create the implementation plan that Claude Code will code and execute with the best possible prompt and details.
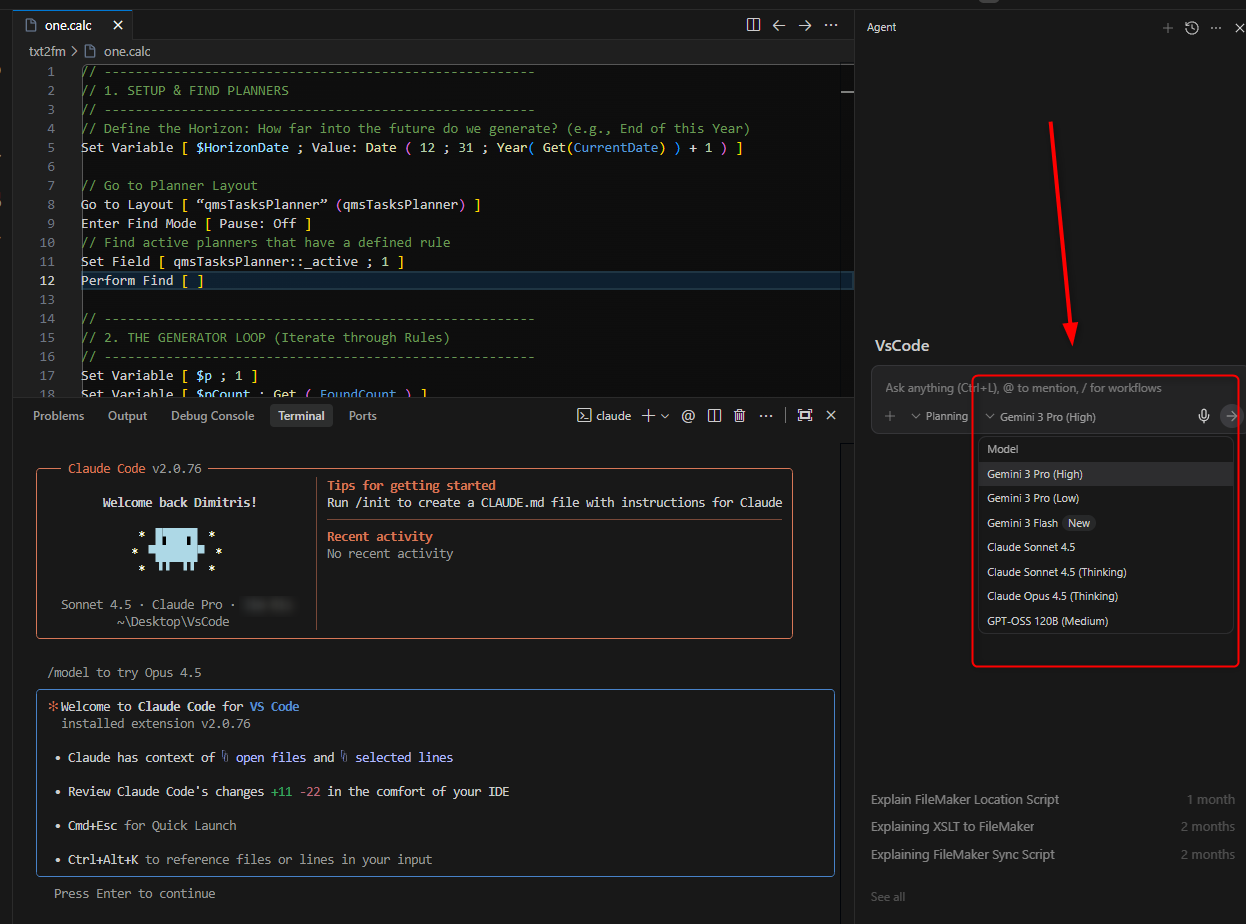
You have two main modes: (a) Planning and (b) Fast
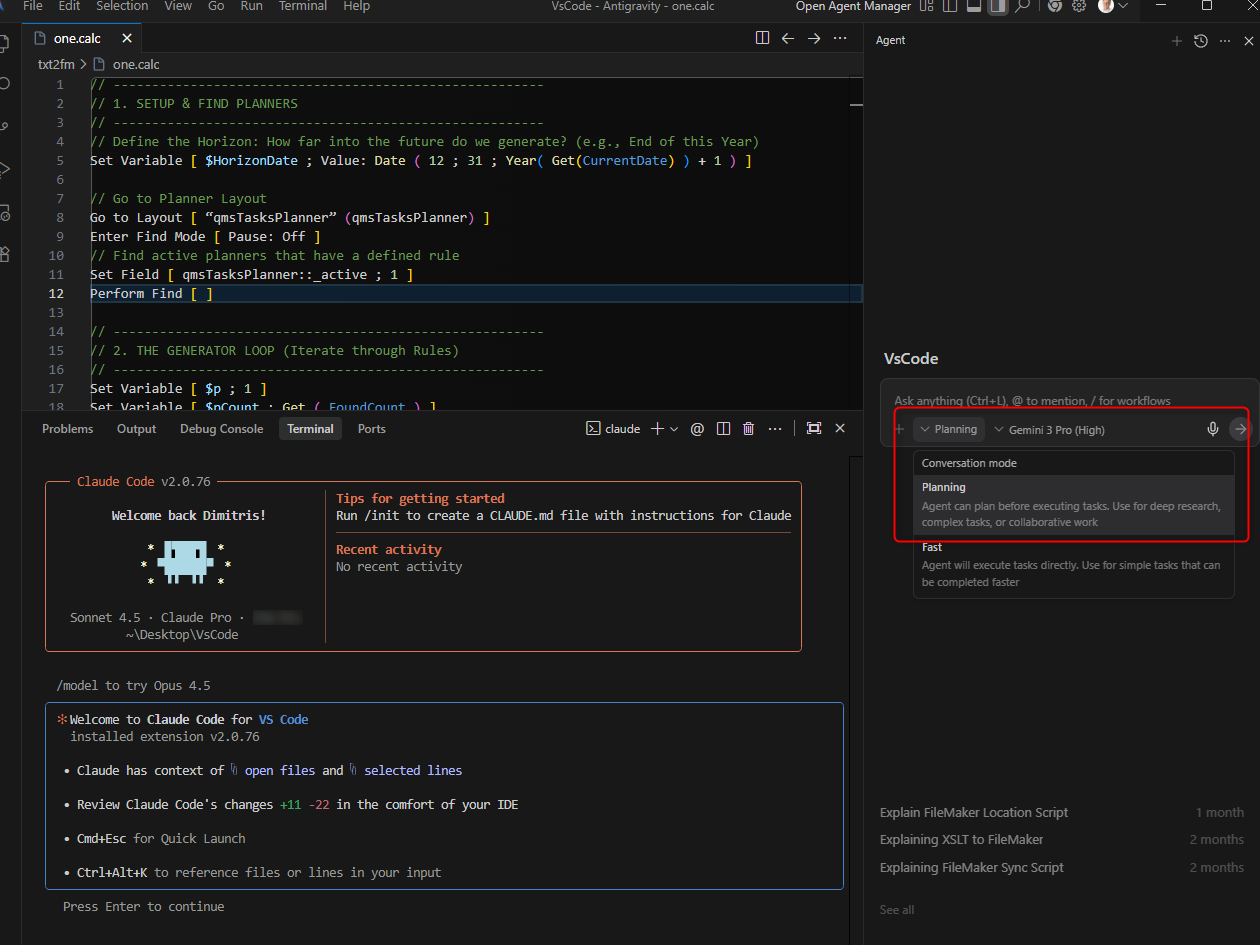
And different models. Yes, you can select Opus 4.5 if you prefer.
Gemini 3 Pro (High) works amazingly well for planning tasks and does not consume credits, so that’s what I recommend.
Then you have the Terminal on the bottom.
That’s where you will ask Claude what to do, and you will see the bot / app running.
Start Building: How to get them to work together
Use Gemini 3 Pro (on the right) for planning.
Write these clear prompts:
- Explain the app with all possible detail
- Add links, docs, APIs, or any important piece of information
- Ask Gemini to create a new folder with a detailed implementation plan, mentioning that “Code Claude will read it, write the code, and execute it”
- Reiterate “do not write the code, simply create the tasks and implementation plan”
Then use Claude Code on the Terminal to run the code.
“Hey Claude, look into the folder ____. You will find an implementation plan. Read it, understand it, and execute it”.
Done.
Claude Code will do magic for you.
You can keep using the Terminal with natural language to communicate with Claude.
When to use Gemini again
Claude Code is quite expensive. If you have the Pro version you’ll have a tight limit in credits.
If you iterate the app with trivial changes, it will consume credit for nothing.
That’s where Gemini comes in again.
- Ask it questions about the code.
- You can even ask for assistance to write new code when the changes you are doing are minimal or trivial (changing colors, updating inputs, adding a simple task, etc).
Gemini can write and execute code perfectly well. We just opt to use Claude Code as it’s currently superior, especially for complex tasks.
Alternatively, to save on credits, you can ask Gemini to write the code for an iteration and specify:
“Do not change the code. Simply it add this as a comment so that Claude Code can read it, understand it, and execute it”.
And then, ask Claude Code to proceed with it.
Once you’ve played around with it. You will see it’s quite simple. And you will be surprised by the things it can do with a few lines of well-elaborated prompts.
2 AIs working at your service. Thinking, writing, executing.
- Even if something fails (you will see “error” several times) it will get managed by the duo most of the times without further input.
- If you need a dataset, server, payment processor, auth log in, MCP server. Anything. They will let you know most of the times.
This workflow isn’t just a fun trick; it is the new literacy.
Don’t let the terminology scare you. ‘Vibe coding’ is just a fancy word for creating.
The barrier to entry has never been this low, but the ceiling has never been this high. You don’t need to be a master of syntax anymore; you just need to be a master of your own ideas. The tools are ready. The workflow is proven.
Open the terminal. Make the mistakes. Build the thing.