If you’ve ever been caught in a whirlwind of frustration while troubleshooting FileMaker Pro connectivity issues, you’re not alone. Recently, I found myself on the verge of madness (let’s call it “CraZZZZZZZZzzzzzzzzzY”) while trying to resolve a mysterious problem where FileMaker Pro 20 and 21 clients could no longer connect to a FileMaker Server on port 5003. Meanwhile, FileMaker Pro 19 connected flawlessly. The culprit? Cached settings. The hero? A single Delete Cached Temp Files button.
Here’s the full story, along with step-by-step instructions to help you avoid the rabbit hole I fell into.
The Problem
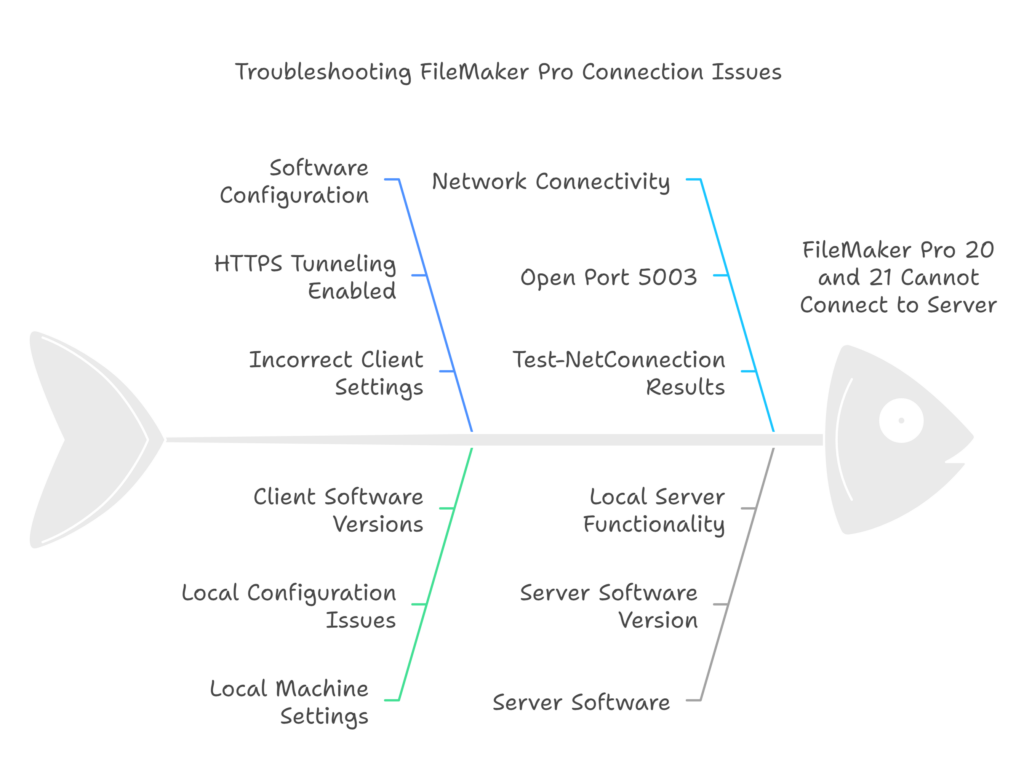
I recently upgraded my FileMaker Pro clients to versions 20 and 21, which introduced the option for HTTPS tunneling. While HTTPS tunneling is a great feature for enhanced security, it seemed to have created a hidden conflict when trying to connect to my FileMaker Server. Here’s what I encountered:
- FileMaker Pro 19 (no HTTPS tunneling) connected to the server on port
5003without any issues. - FileMaker Pro 20 and 21 on my local machine could no longer connect, despite being correctly configured.
- Strangely, FileMaker Pro 21 installed on the server itself worked perfectly fine. This hinted that the issue was likely related to local configuration on my machine, rather than the server itself or its network settings.
- Testing connectivity using
Test-NetConnectionshowed that port 5003 was open and reachable. - The server logs and firewall rules were all correctly configured.

No matter what I tried, the local FileMaker Pro 20 and 21 clients just couldn’t “forget” the HTTPS tunneling setting they were previously configured to use.
The Solution: Testing in a Fresh Environment and the “Hidden” Hero Button
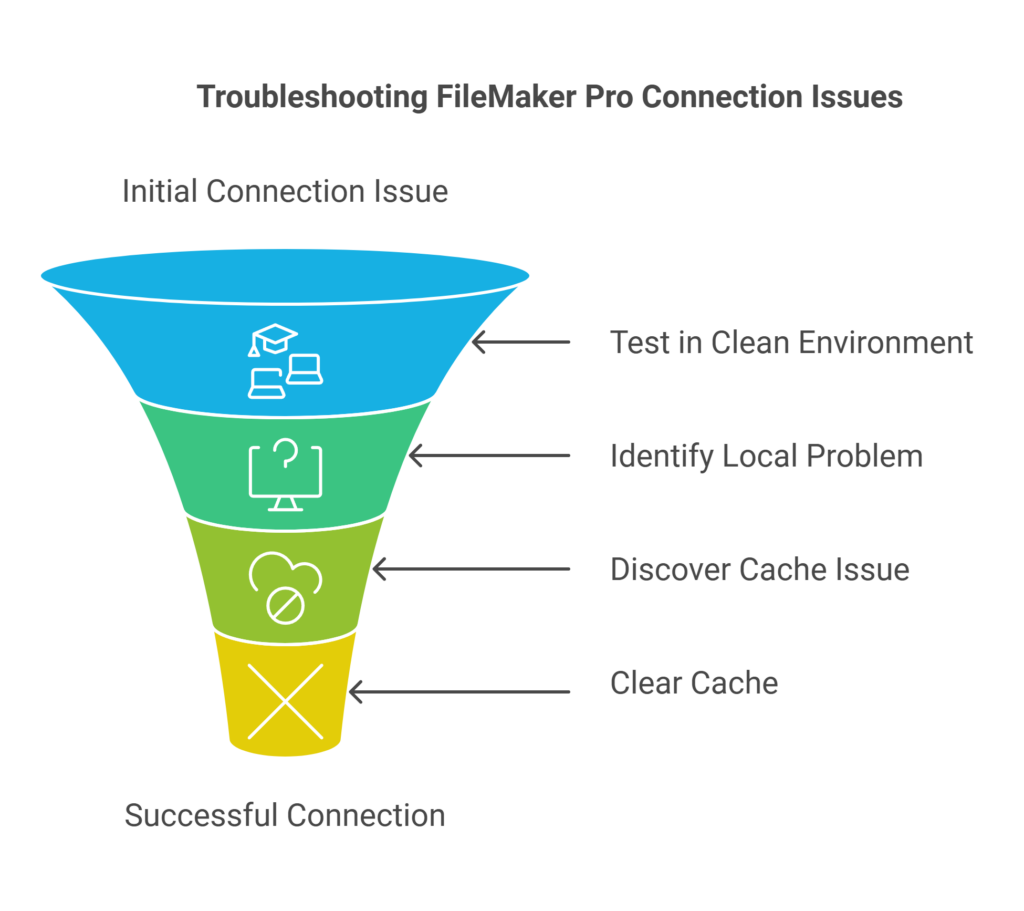
As part of my troubleshooting process, I decided to test FileMaker Pro 21 in a clean environment to confirm whether the issue was isolated to my local machine. Using a fresh installation on a VMware image, I discovered that the client connected without any problems. This made it clear that the problem wasn’t with the server but with cached settings on my local FileMaker Pro clients.
After hours of digging, testing, and nearly pulling my hair out, I stumbled upon a tiny, unassuming button in the FileMaker Pro Settings menu that fixed everything.
How to Clear the Cache in FileMaker Pro
- Open FileMaker Pro 20 or 21.
- Navigate to Settings:
- FileMaker Pro 21: File > Settings (formerly Preferences in older versions).
- In the General tab, find the Delete Cached Temp Files button.
- Click the button.
- Restart FileMaker Pro.

That’s it! Once the cache was cleared, my FileMaker Pro 20 and 21 clients connected seamlessly to the server on port 5003 without any residual HTTPS tunneling conflicts. No need to mess with DNS cache, AppData folders, or reinstallations.
Why It Works
FileMaker Pro stores certain cached settings and configurations for faster connections and improved performance. However, these cached files can sometimes hold onto outdated or conflicting network settings, such as HTTPS tunneling configurations. Clearing the cache resets these temporary files, allowing the client to start fresh and connect properly.
Lessons Learned
- FileMaker Has Evolved: The addition of a simple Delete Cached Temp Files button shows how Claris has streamlined troubleshooting for users.
- Always Start Simple: It’s easy to get caught up in complex solutions, but sometimes the answer is as simple as clearing a cache.
- Test in a Clean Environment: If things aren’t working, testing in a fresh install (like I did with VMware) can help confirm whether the issue is localized or systemic.
Step-by-Step Troubleshooting Process
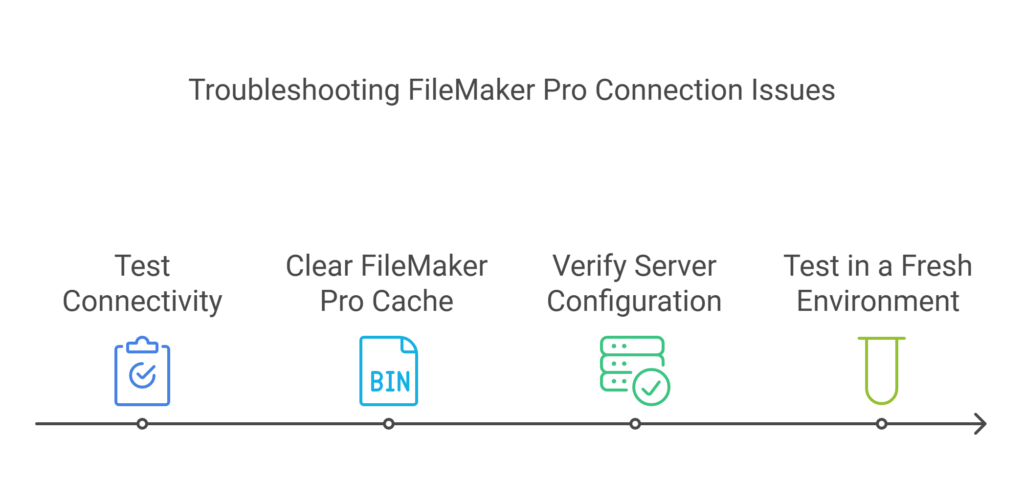
If you’re facing a similar issue, here’s a quick troubleshooting checklist:
- Test Connectivity:
- Use PowerShell to confirm that the server is reachable on port
5003:Test-NetConnection -ComputerName <your-server-ip> -Port 5003 - If it fails, check your server’s firewall, network settings, and FileMaker Server configuration.
- Use PowerShell to confirm that the server is reachable on port
- Clear FileMaker Pro Cache:
- Open FileMaker Pro and go to Settings > Delete Cached Temp Files.
- Restart FileMaker Pro and test the connection again.
- Verify Server Configuration:
- Make sure FileMaker Server is configured to accept connections on port
5003. - Confirm that HTTPS tunneling is either enabled or disabled, depending on your setup.
- Make sure FileMaker Server is configured to accept connections on port
- Test in a Fresh Environment:
- Use a clean installation of FileMaker Pro (e.g., on a new VM) to verify that the issue isn’t related to your local machine’s configuration.

Wrapping Up
In the end, what felt like a never-ending nightmare was resolved with the click of a single button. This experience taught me the importance of keeping a cool head, exploring all options, and documenting every step along the way.
So, if you’re ever in a similar situation where FileMaker Pro refuses to cooperate, remember: sometimes, the solution isn’t a complex script or a deep-dive into logs. Sometimes, it’s just a tiny button labeled “Delete Cached Temp Files” waiting to save the day.
🎉 Happy FileMaking! 🎉


